Window tint isn’t just about style; it’s a practical upgrade that can reduce glare, block harmful UV rays, and improve your vehicle’s energy efficiency. While professional installation is always recommended for the best results, installing window tint yourself can be a rewarding DIY project if you have the right tools and techniques. In this guide, we’ll walk you through the step-by-step process of installing window tint like a pro.
What You’ll Need
Before you start, gather these tools and materials:
Window tint film (pre-cut or custom-cut)
Spray bottle with soapy water (a few drops of dish soap mixed with water)
Squeegee or felt-edged tool
Razor blade or utility knife
Heat gun or hairdryer
Microfiber cloth
Measuring tape
Painter’s tape
Isopropyl alcohol and a clean cloth
Step 1: Prepare Your Workspace
Choose the Right Environment:
Work in a clean, dust-free area, like a garage or shaded spot.
Avoid direct sunlight, as it can cause the tint to dry too quickly and create bubbles.
Clean the Windows:
Roll down the window slightly to access the edges.
Use soapy water and a microfiber cloth to clean the glass thoroughly.
Wipe the glass with isopropyl alcohol to remove any remaining residue or grease.
Step 2: Measure and Cut the Tint Film
1. Measure the window:
Use a measuring tape to determine the size of the window.
Add an extra inch to each side to ensure full coverage.
2. Cut the film:
If you’re using pre-cut tint, skip this step.
For custom-cut tint, place the film on a clean, flat surface and use a razor blade to cut it to size.
Step 3: Apply the Tint Film
1. Peel the backing:
Spray the adhesive side of the tint film with soapy water.
Carefully peel off the backing paper, exposing the adhesive side.
2. Position the film:
Spray the window with soapy water to create a slippery surface.
Align the tint film with the window, leaving a small overlap around the edges.
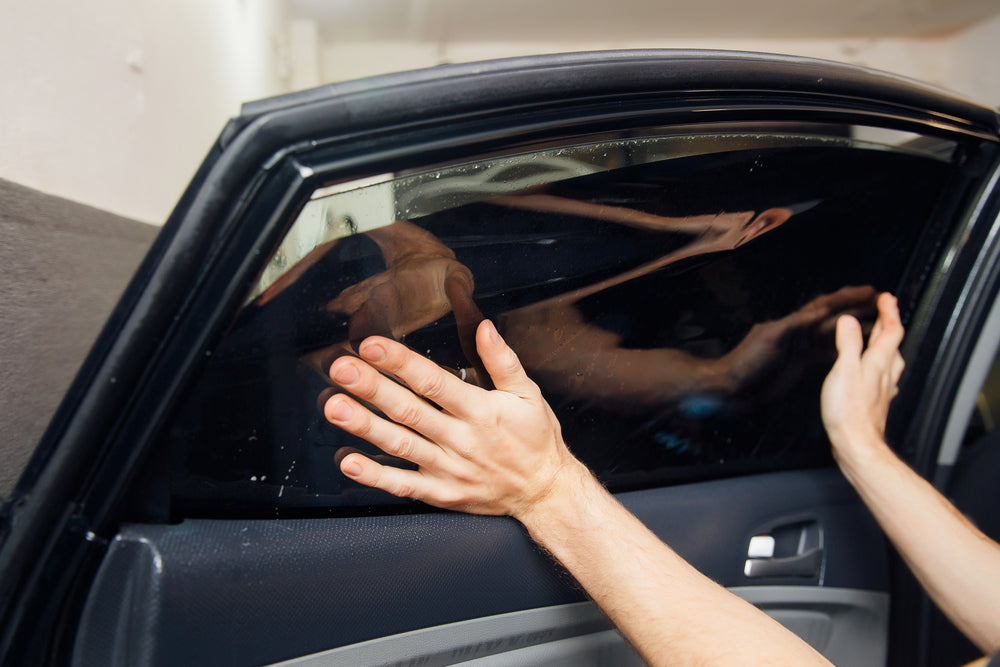
3. Smooth Out Bubbles:
Use a squeegee to push out air bubbles and excess water, starting from the center and working outward.
Be gentle to avoid scratching the film.
Step 4: Trim the Excess Film
1. Use a Razor Blade:
Carefully trim the edges of the film using a razor blade or utility knife.
Follow the contour of the window for a precise fit.
2. Tuck the Edges:
Use a felt-edged tool to tuck the film into the window seal for a clean, professional look.
Step 5: Heat and Shape the Film
1. Use a heat gun:
For curved windows, use a heat gun or hairdryer to gently heat the film.
This will help the film conform to the shape of the window.
2. Smooth Again:
Once the film is heated, use the squeegee to smooth out any remaining bubbles or wrinkles.
Step 6: Final Touches
1. Check for bubbles:
If you notice any small bubbles, use a pin to poke a tiny hole and press out the air.
2. Let It Cure:
Allow the tint to cure for 24-48 hours before rolling down the windows.
Avoid cleaning the tint for at least a week to ensure proper adhesion.
Pro Tips for a Flawless Installation
Work in Small Sections: Tackle one window at a time to avoid mistakes.
Use High-Quality Film: Cheap tint is harder to work with and may not last as long.
Keep the Film Wet: The soapy water prevents the film from sticking too quickly, giving you time to adjust.
Practice Patience: Rushing can lead to bubbles, wrinkles, or misalignment.
Common Mistakes to Avoid
Skipping the Cleaning Step: Dirt or grease can cause the film to peel or bubble.
Using Too Much Force: Press gently to avoid tearing the film.
Trimming Too Early: Wait until the film is fully applied before trimming the edges.
Ignoring Weather Conditions: Avoid installing tint in extreme heat, cold, or humidity.
Need Professional Help? We’ve Got You Covered!
While DIY window tinting can be fun, it’s not always easy to get perfect results. At Print Me Logo, we specialize in professional window tint installation that’s precise, durable, and guaranteed to look amazing. Contact us today to schedule your appointment or learn more about our tinting services!
Conclusion
Installing window tint is a great way to enhance your vehicle’s appearance and functionality. With the right tools, techniques, and a little patience, you can achieve professional looking results at home. But if you’re not confident in your DIY skills, don’t hesitate to call in the pros. Either way, you’ll enjoy the benefits of a cooler, more stylish ride.